Posts

Showing posts with the label pincushion

DIY fruit basket pincushion
Image
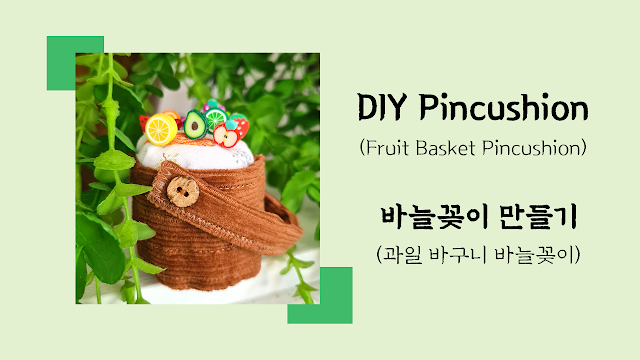
Last time I made fruit slices clay headed pins, and I put them on pincushions I made previously, and I thought it would be good if those pins on basket pincushions. Of course, I should try! Corduroy fabric is used for basket, the fabric has a bit of bums which is perfect for showing woody texture. And it's firm enough and no needed use of any battings or felts for its self stand. For tutorial, please click the Video below, hope you enjoy. If the Video was helpful, please subscribe my Youtube channel:  Mikinoos DIY Thank you. It's made for pincushion, but it can be used for doll plays.      

Sewing DIY Pincushion

Image
I made a flower pincushion with tiny petals (floral parts). It made a cute flower pincushion with pink ribbons and floral designed fabric. I made two pincushions, one for mine, and the other for a gift to my friend. The small one is for my friend and it can be fit in her little sawing box. How to ~ Happy sewing everyone 😚 1. Prepare: a floral button, a bead, ribbon like the ribbon on picture, floral fabric, and one colour fabric. 2. Cut floral fabric and one colour fabric in the same radius 8cm (the size you want). 3. Fix ribbon on seam of the right side of one colour fabric and petals to be towards inside of fabric, and sew.  4.  Put fabrics right sides together and sew except opening gap. 5. Give some snips on seam for easy turn, and turn insides out. 6. Close the opening gap with blind stitches. 7. Locate a bead in the middle of one colour fabric, and a button in the middle of floral fabric, and sew  through a few times both the bead and button which located other si...

DIY Christmas Pincushions (Ornaments); Christmas Pincushion making tutorial

Image
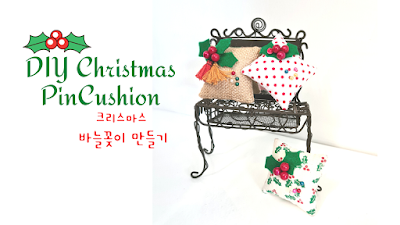
Sewing in December is all about Christmas!  made Christmas pincushions (ornaments), easy, so easy! Sew or glue green felt leave and red beads on top of square pincushion, that's it. I spent more time to think how I can express red shiny fruits, you can use red colored Pompom, but I want to add some shiny bits to it, so I came to conclusion to use nail polish. Red nail polish to beads once, and then dry, and 2nd coat and then dry, and finish with top coat. Highly recommend to process this first, because you will need time for beads to be dried.  If you add strings to pincushions, which can be Christmas ornaments to decorate Christmas tree. It can be pincushion for sewing, and also handmade baubles :)  I did not add strings when I made them, silly me, and I just put them between branches of mini Christmas tree.  Hope you all have a very merry Christmas.  For tutorial, please click below video, hope you enjoy. Weekly videos upload, please subscribe my Youtube chann...

DIY Pincushion; Pincushion Tutorial

Image
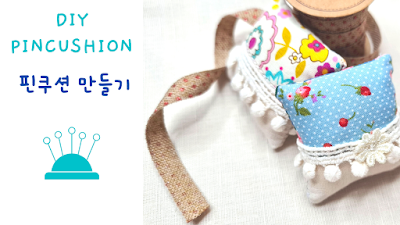
Never tired of making pincushions, don't you agree, because pincushions are a small and cute, I think, and so much fun with choosing fabrics, and ribbons :), easy to make, and also it can be a good use of scrap fabrics. Please dig scrap fabrics of yours and try this little two patches. For tutorial, please click below video, hope you enjoy. Weekly videos upload, please subscribe my Youtube channel:  Mikinoos DIY Thank you.

DIY a Pincushion on Jar tutorial

Image
 Pincushion on Jar I have put a pincushion on jar, and decorated it with ribbons. Ribbons are not only making a bottle pretty but also covering jar lid and cardboard. Open the pincushion lid and buttons and beads can be stored in the jar. I use them most time when I sew, one of my fav pincushion 🥰🤩 How to: ♤ Make a round pincushion ♤ cut cardboard the same size as jar lid radious ♤ glue the pincushion to cardboard ♤ glue the pincushion & cardbard to jar lid ♤ glue your selection of ribbons to cover the cardboard and jar lid all around ♤ jar itself is too empty and boring, so glue a ribbon to jar For further information, please check it out on my youtube channel "Mikinoos DIY" or Please click the link below for free tutorial and enjoy. Weekly videos upload, please subscribe my Youtube channel, thank you. https://youtu.be/5W3VufHvQ8k