Posts

Showing posts from February, 2021

DIY Bath Mat (use up your fabric scraps); Floormat making tutorial

Image
After cutting fabrics, there are always fabric scraps which accumulated for several months, and eventually there is the container full of fabric scraps, it's time to use up and empty the container for next several months, and also there's no space for another fabric scraps containers, it's best use some up. I cut 189 square pieces from fabric scraps, and quilted them to make bath mat.  Even though I have quilted square pieces randomly, the colour of finished bath mat is not bad. Honestly I have a bit worried for if colour of finished foot mat turned out disaster, and all my work of sewing goes for nothing. ๐Ÿ˜œBetter than I thought.    Measurement & Cut: 2 inch x 2 inch (seam allowance 0.25inch inclusive) for total 189 square pieces which used 18 pieces x 11 pieces for mat. For tutorial, please click below video, hope you enjoy. If the Video is helpful, please subscribe my Youtube channel:  Mikinoos DIY Thank you. Obviously  cat loves it :) 
DIY Oven Mitts; Oven Mitts Making Tutorial and Pattern

Image
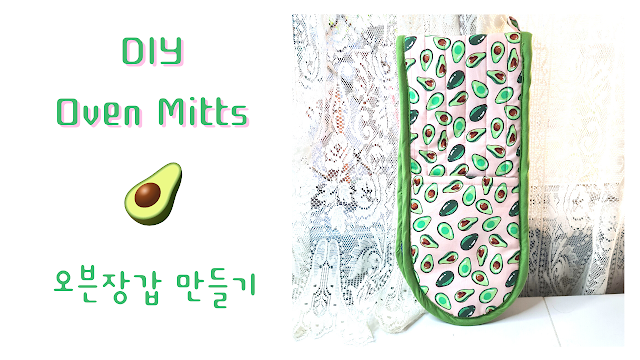
Avocado designed fabric made oven mitts so cute, and tasty. Because they are for hot pots, and hot plates, insulated lining (The warm company's Insul-Bright) has been used for making oven mitts.  Oven mitts are used so often in kitchen for pick up hot pots and plates from oven and micro-wave, and get dirty easy. Now I know what material to use, and how to make them. No buying them anymore and I shall make them again when they need to be replaced.  For anyone who needs the oven mitts pattern, please download from below youtube video description. For tutorial, please click below video, hope you enjoy. If the Video was helpful, please subscribe my Youtube channel:  Mikinoos DIY Thank you.

Seing DIY Headband and Pattern

Image
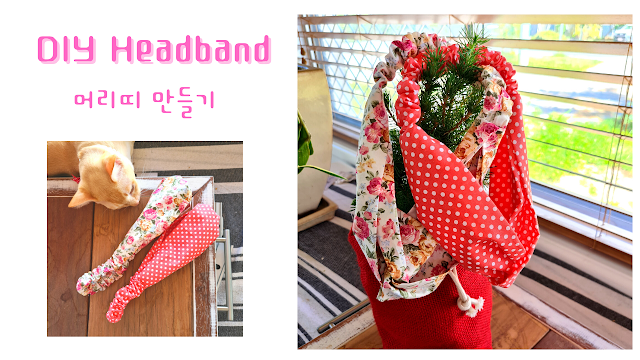
After I took videos for sewing and crafting, there's one thing I noticed which made me frustrated for editing is my hairs! Although I tie all my hair up in pony tails, still short and little hairs untied. While I sew, my body and head got closer to sewing objects without thinking camera's video on, and boom my hairs on videos๐Ÿ˜“ I am not much fan of headband because of its pressure on my head. But it's now a necessary item for me while I sew. Measurements in picture below. For tutorial, please click below video, hope you enjoy. If the Video was helpful, please subscribe my Youtube channel:  Mikinoos DIY Thank you.

Sewing DIY cotton bag and pattern

Image
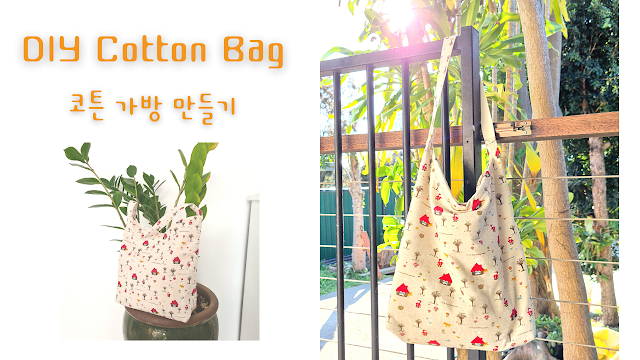
 I made the similar bag in a bit bigger size about 4 years ago, and it's been used a lot when I went to Korea for 6 weeks. It is light, and because batting's done it's not too thin which makes so easy to be in shape even though only a couple things to put in. This time I made a bit smaller version.  How to make: 1. Measurement below for outer fabric, inner fabric, and batting material. Change measurements as you needed. 2. Lay batting material first and then outer fabric, and then inner fabric, and then pinned them. 3. Sewing through except the opening gap which in size your fist can be in and out through. 4. Cut seam allowance of batting material close to stitches. 5. Give snips on curves and turn insides out.   6. Close the opening gap with blind stitch. 7. Sew all the way of curvy top parts about 1cm down from the edge. 8. Fold in half and hemming stitch between outer fabrics, and then hemming stitch between inner fabrics after insides out. 9. Mark about 9 cm on both bo