Posts

Showing posts with the label eco bag

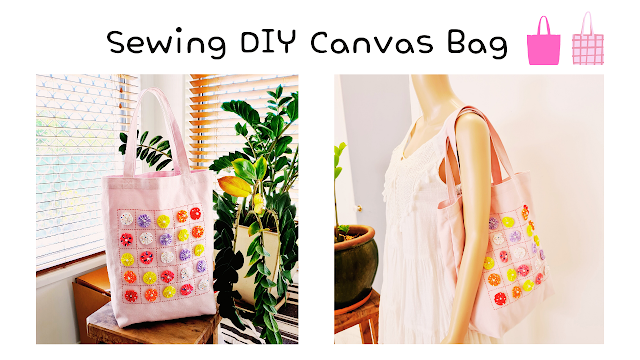
Sewing DIY Canvas Bag with pattern measurement
Image
 Making eash flowers with fabric is YoYo flowers.  Before attaching YoYo flowers to fabric bag,  I ran through running stitch in hand embroidery for 25 squares.\ Although I did not use embroidery hoops, it wasn't creased much  because  canvas fabric was a bit thick, I think. Regarding pattern measurement, you can find from my youtube video, the link on the bottom of this blog post. For how to make, tutorial, please click the Video below, hope you enjoy. If the Video was helpful, please thumbs up  and subscribe my Youtube channel:  Mikinoos DIY Thank you.
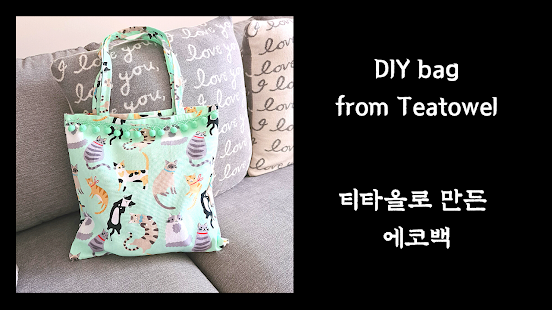
Sewing DIY Bag from Tea Towel

Image
My friend who loves cats asked me to make the bag from towel. Since she a cat as pet, she loves cats designed products such as tea towels, fabrics, cups, stickers, etc. She mentioned that I don't want to use this super cute tea towel as tea towel when she handed the cats designed towel to me.  Designed cats are in one direction, the direction needs to be considered, so if the bag made with fold in half in the middle of towel, one side the cats would have the right direction, but the other side the cat would be upside down direction.  For how to make, tutorial, please click the Video below, hope you enjoy. If the Video was helpful, please thumbs up and subscribe my Youtube channel:  Mikinoos DIY Thank you.

Linen bag alteration

Image
The linen bag bought for $2 when you buy clothes. I bought it because the puppy pic on linen bag is super cute. But I could not use it because of the name of clothing shop, 'ally'. The shop name is on the right bottom corner and the big bit shop name on the back of bag. The puppy is super cute, and linen fabric is good quality.   So I hid the shop names with other puppies/dog printed fabric. On the front of the bag, the name is hidden by printed puppies of other fabric, and I sew a button on puppy's bow tie. On the back of the bag, I attach a big and deep enough pocket to hide the shop name.  I was very happy how the bag altered. No more shop names show, and even the bag looks better with a bit of color added. And also better for use with the deep and big pocket. For tutorial, please click the Video below, hope you enjoy. If the Video is helpful, please subscribe my Youtube channel:  Mikinoos DIY Thank you. 
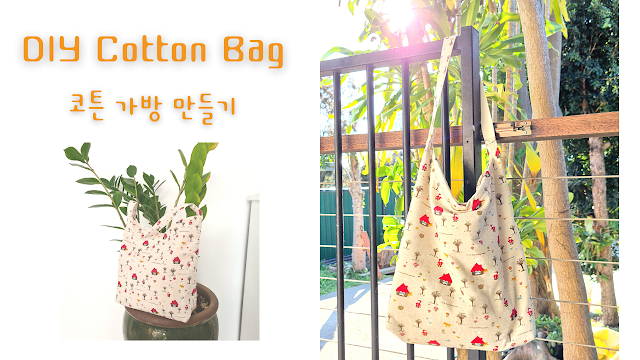
Sewing DIY cotton bag and pattern

Image
 I made the similar bag in a bit bigger size about 4 years ago, and it's been used a lot when I went to Korea for 6 weeks. It is light, and because batting's done it's not too thin which makes so easy to be in shape even though only a couple things to put in. This time I made a bit smaller version.  How to make: 1. Measurement below for outer fabric, inner fabric, and batting material. Change measurements as you needed. 2. Lay batting material first and then outer fabric, and then inner fabric, and then pinned them. 3. Sewing through except the opening gap which in size your fist can be in and out through. 4. Cut seam allowance of batting material close to stitches. 5. Give snips on curves and turn insides out.   6. Close the opening gap with blind stitch. 7. Sew all the way of curvy top parts about 1cm down from the edge. 8. Fold in half and hemming stitch between outer fabrics, and then hemming stitch between inner fabrics after insides out. 9. Mark about 9 cm on both ...

DIY foldable shopping bag tutorial

Image
DIY foldable shopping bag I have upcycled a broken umbrella, as some of you might know Oroton brand umbrella. And it was a very strong umbrella and i loved it. But someday in summer it was bucketing down and the strechers of umbrella was broken😭 and i was damn soaked. I have kept the umbrella fabic which was good choice, and it is used for foldable bag, Ta-Da. How to: ♤ cut fabric for front and bag panels the size you want ♤ make front pocket and sew to front panel ♤ right sides of front and back planels togethet and sew ♤ cut fabrics for bag handles and sew ♤ sew to bag panel For further details, please check it out below Youtube or find my youtube channel: Mikinoos DIY Please click the link below for free tutorial and enjoy. Weekly videos upload, please subscribe my Youtube channel, thank you. https://youtu.be/zcOdiMe5vXM