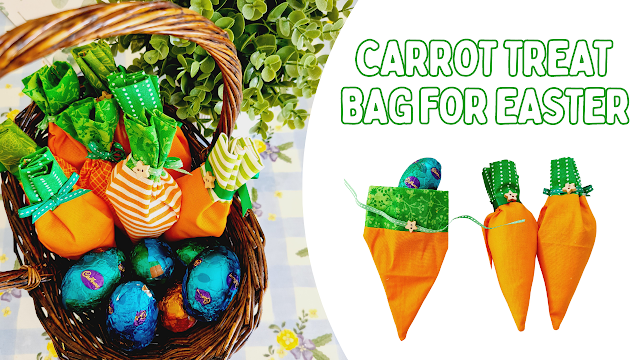
Sewing DIY Carrot treat bag for Easter with pattern measurement
About 2 weeks before Easter holiday,
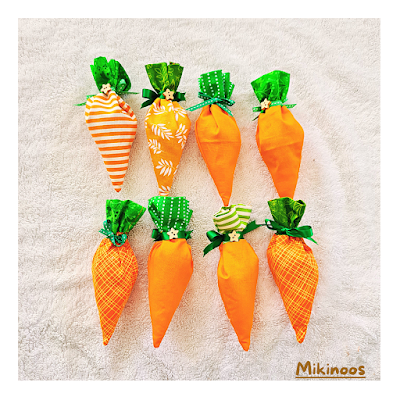
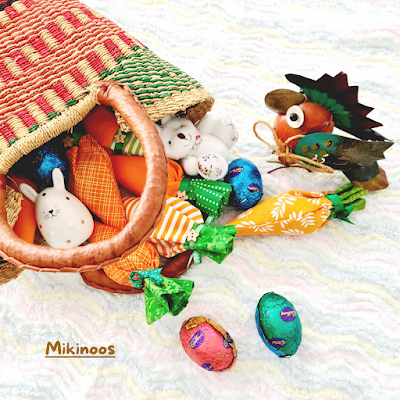
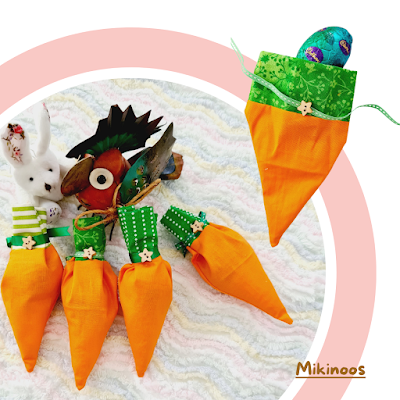
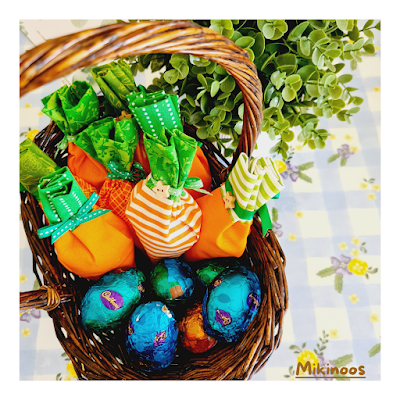
I made fabric carrot treat bags for easter.
and I could put Easter chocolatte eggs in bags.
Today, a week before Easter Friday,
I open carrot market on my desk
and I ask work colleague to pick a carrot they like.
I was told that carrots are so cuteeee.
Some says that it's so cute to eat the chocolatte.
I was happy to see them like my easter presents.

If you see my Youtube video,
you will find it is so easy to make.
But it took me 5 trials to get what I want.
I did not like how the shape tuned at first 2 trials,
and then, I got a right shape, but the chocolatte egg was not fit in at all.
on the 4th trial, I could put the egg in, but it was too tight.
Hm, had a break a bit before starting next trial.
on the 5th, gocha.
then making other 7 more of them
took me shorter then hours i spent for the first 4 trials

For how I made, tutorial, please click the Video below, hope you enjoy.
If the Video was helpful, please thumbs up
and subscribe my Youtube channel: Mikinoos DIY
Thank you.
Step by Step
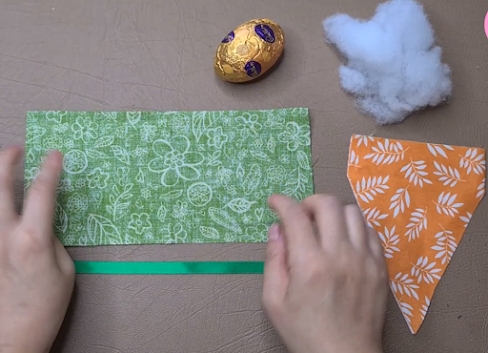
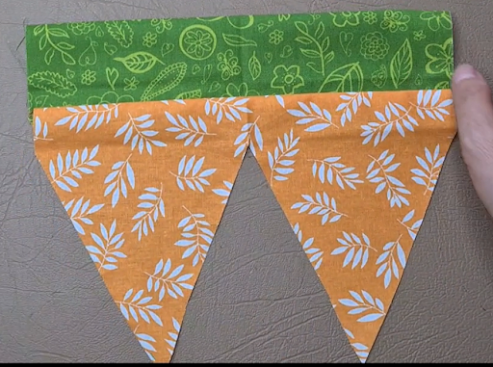
Refer the pattern measurements, and cut out one green retangle for carrot leaf, orange coloured W shape pocket for carrot root. You need a bit of stuffing poly, green ribbon a bit longer than rectangle, and chocolates or candies.

Fold the rectangle in half in length wise, and place the W shape pocket on top of folded rectangle with right side facking in. Pin and sew the top edge, sewing 0.25 inch seam allowance.

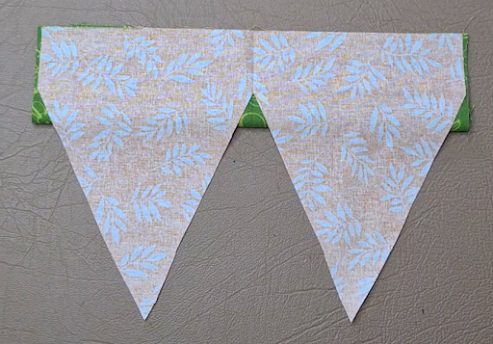
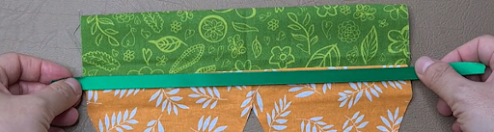
Open up the green retangle, and you will have it like below.
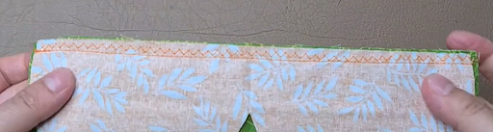
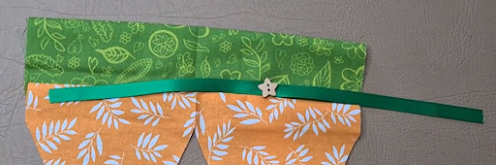
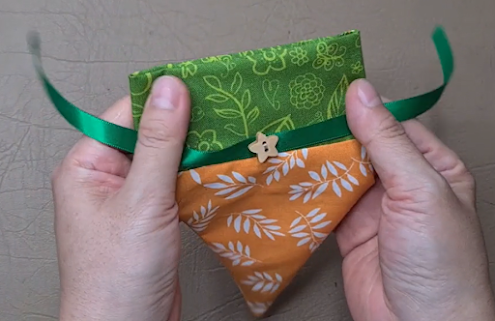
Cut out a green colour ribbon longer than the retangle width, and fold the ribbon in half and mark the center of ribbon. The center of ribbon should be placed on a quater away from the right edge, it is okay to be located a quarter away from the left edge, and on the bottom end of green retangle. Using needle and thread, stitch to hold the ribbon, or sew a little cute button on top of the ribbon together. Button is just optional. The button will be shown on the other side of green bow in completed carrot pouch.

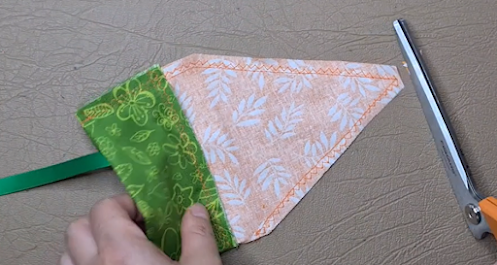
Fold in half with right sides facing in. Pin and sew along with the top open, sewing 0.25 inches seam allowance. Snip cut to corners. Turn it right side out.
Stuff a little amount of poly to the tip of carrot root, and fill the lollies.
Make a bow with the green ribbon, and play to make nice look of carrot leave.


Done, hope you enjoy sewing with me~


Comments
Post a Comment