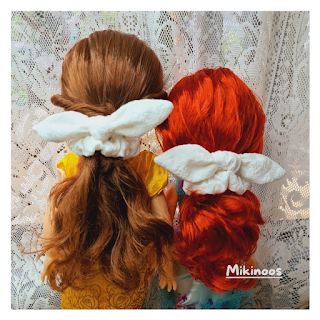
Sewing DIY Bow Scrunchies (Free Pattern)

I've made some scrunchies before
such as mini scrunchies, and fur fabric scrunchies.
Cute bow scrunchies this time.
It was easy to make.


Pattern: you can download from the my Youtube video's description.
For how to make, tutorial, please click the Video below, hope you enjoy.
If the Video was helpful, please thumbs up
and subscribe my Youtube channel: Mikinoos DIY
Thank you.
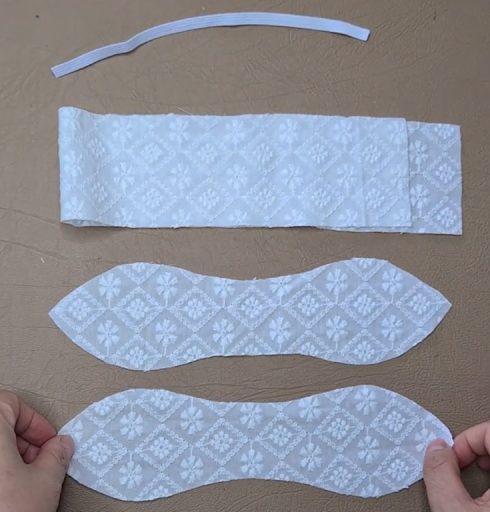
Step by Step
Cut out two bow, and a rectangle piece.
Refer the hyperlinked pattern on Mikinoos Youtube video.
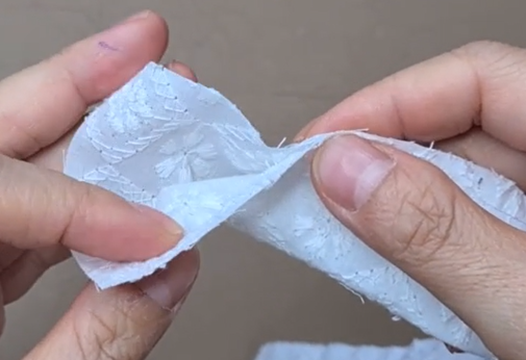
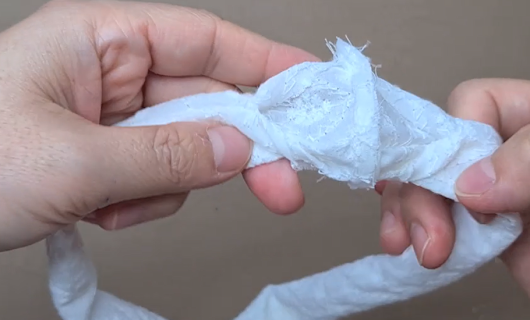
Place the two bows together with the right sides facing in. Pin and sew all around along the edge, sewing with 0.25 inches seam allownce, except opening gap in the middle (the gap width is the distance between two fingers in picture).

Turn it right side fabric out.

Close the opening gap, and the bow ribbon is ready.


Making scrunchy. Fold the rectanger in half of longer side, and pin and sew along that edge of longer side, sewing with 0.25 inches seam allowance, and leave about 1.5 inches both ends of tube.


Turn it right side out.

Fold the tube in half, placing the open ends together. Pin and sew along that edge, sewing 0.25inches from the edge.

Put elastic through the opening gap, and tie the elastic string ends together.

Sew and close the opening gap, and the scrunchy is ready.

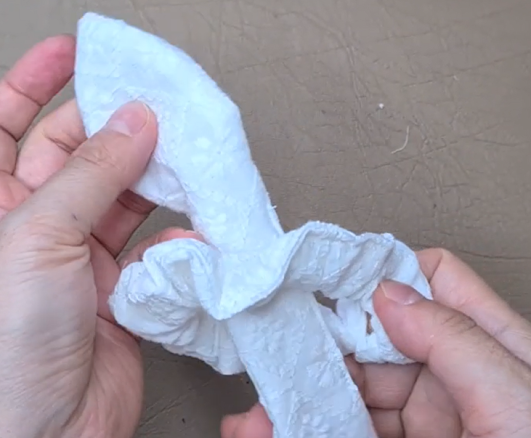
Now it's time to assemble. Put the ribbon through the scrunchy ring, and make a bow.
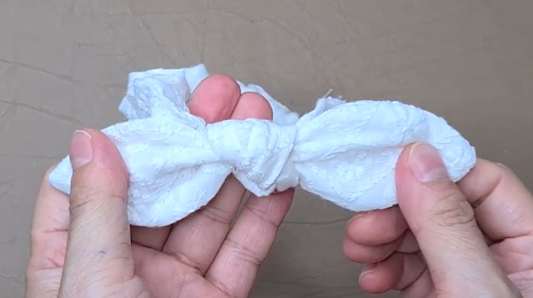
Done, hope you enjoy~


Comments
Post a Comment